© 2008 Kyle the ED4LTR
-----------------------------------------------------------------------------------------------
NOTE: The E-Series Owners Club/BoostedFalcon.net and the writers of the articles take no responsibility for any damage or problems or grief that may be a result of following one of our articles. Make sure you know what you are doing, are confident and competent before commencing any activity. You do so at your own risk!
-----------------------------------------------------------------------------------------------
Tools Required:
Phillips Head Screwdriver
Torx (Anti Theft) fittings to remove head unit (Size varies, mine was size 20)
Replacement W5W Wedge Bulbs (Quantity depends on what you are replacing, if you are changing the colour roughly 8 will be required depending if your car is manual)(If you plan on changing the globes)
(http://stores.ebay.com.au/warden-jp2002) is where I bought the blue ones I had, try and find the brightest ones there if you’re making them colour and not just a standard globe, to save trouble if your only wanting to replace the globes, they can be bought from any auto store (AutoBarn, Supercheap Auto, Bursons).
Once you have all of the above, then it is time to get started, at most it should take an hour tops to complete this depending on your skill at anything hands on. Remember to read these instructions and take note of the pictures as they will make this so much easier.
1. Make sure your car is not on an incline as the handbrake will need to be released to unscrew some parts.
2. Make sure your steering column has been pulled down and pulled towards you so other parts can be removed, another alternative is to remove the steering wheel.
3. Now it’s time to start unscrewing stuff, (REMEMBER! – Keep screws that you pull from different areas separate, make it easier to re-assemble). Same for opposite side buttons
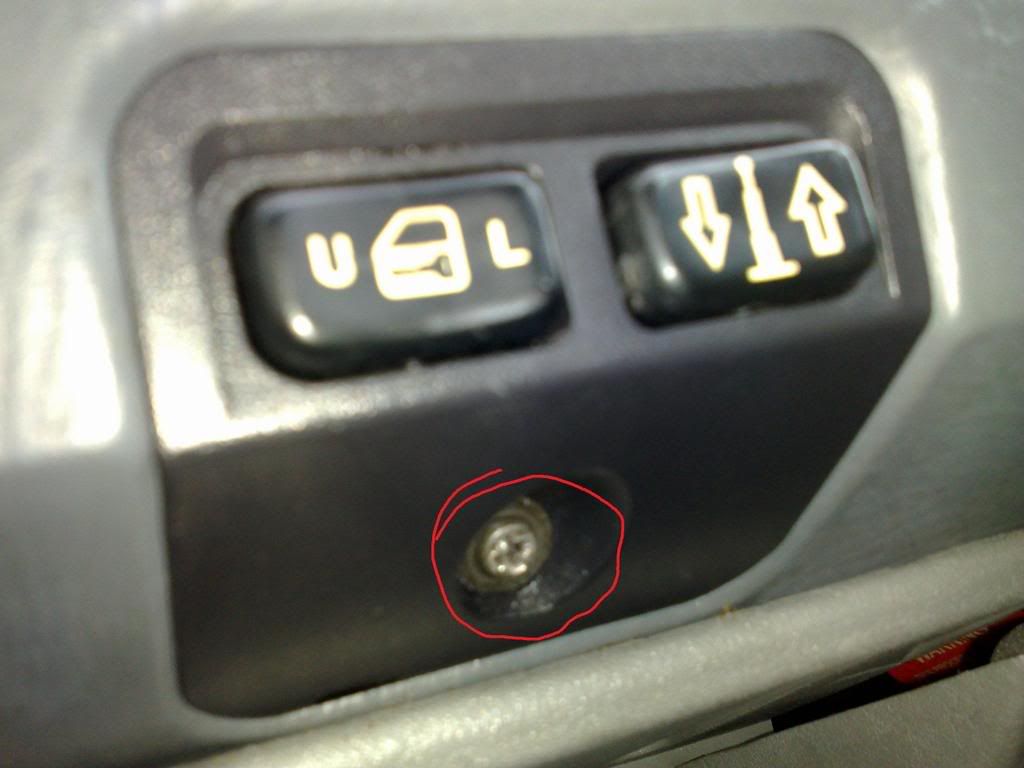
4. After you have unscrewed the screws from the button panels on each side, there will be a screw underneath the cluster surround that will need to be removed.(Mine have been removed already). Same for the opposite side.
5. Now it is time to remove the screws off the top of the dashboard surround, and this is why the steering column needs to be put down (to make easier access for the screwdriver.)
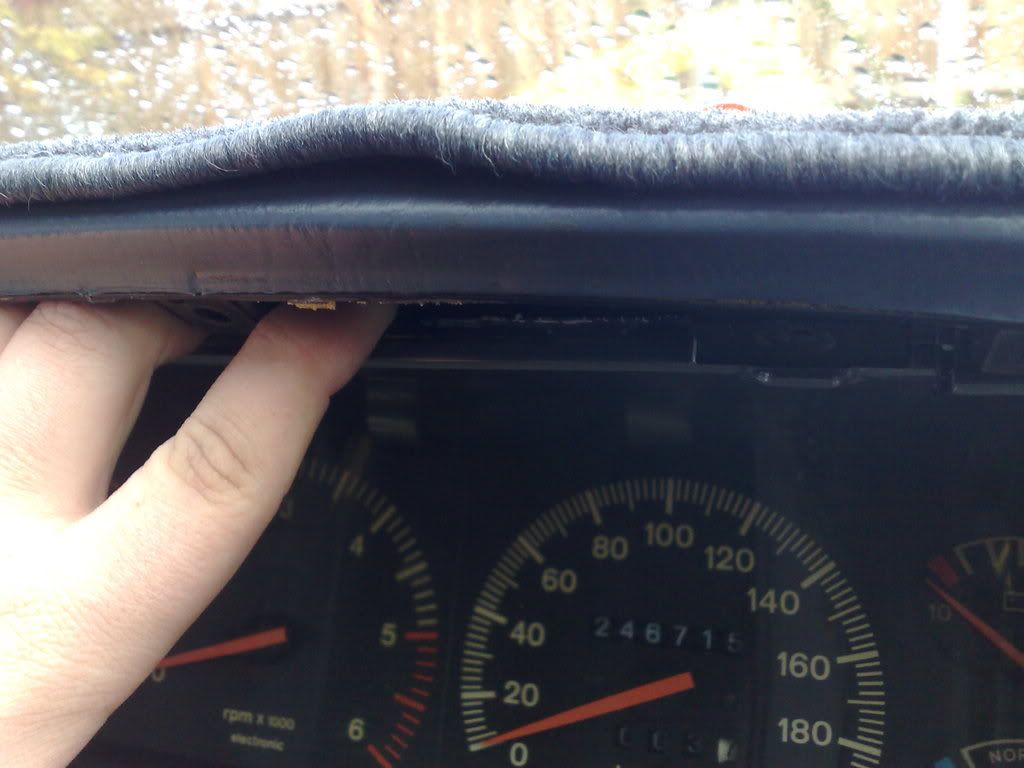
6. Now after these screws have been removed the surround should easily be able to be lifted out from the dashboard very easily.
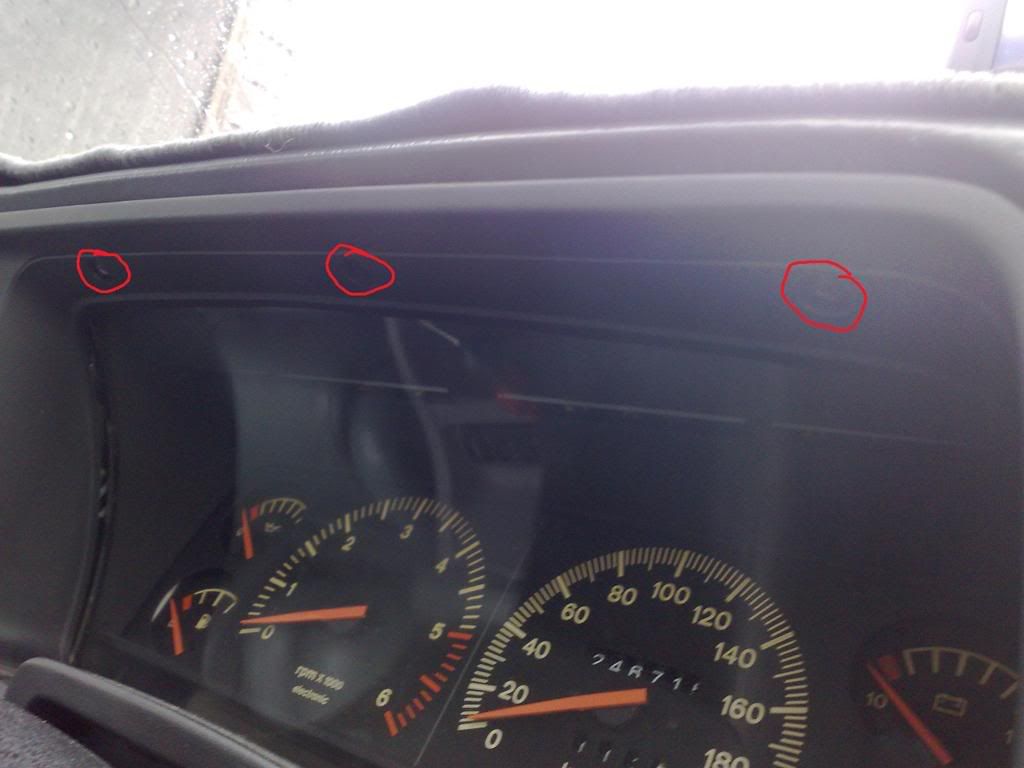
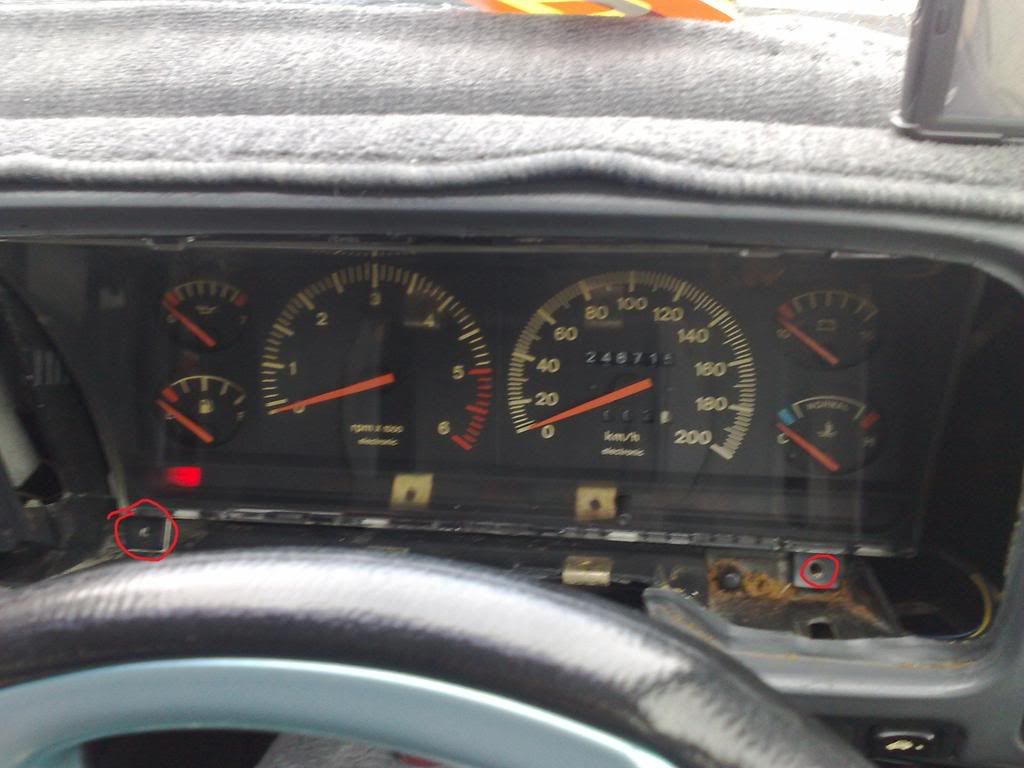
7. Now it is time to start pulling out the cluster, there are 2 screws at the bottom of the cluster to remove and 2 at the top (Top ones can be found easily) (Bottom ones have been removed already).
8. Now to remove the cluster from the dashboard, put LIGHT! Pressure on the top and it should pop out, and remove the plugs to make work easier (NOTE: The plugs are clicked in so press the tab on each of the plugs to pull them out).
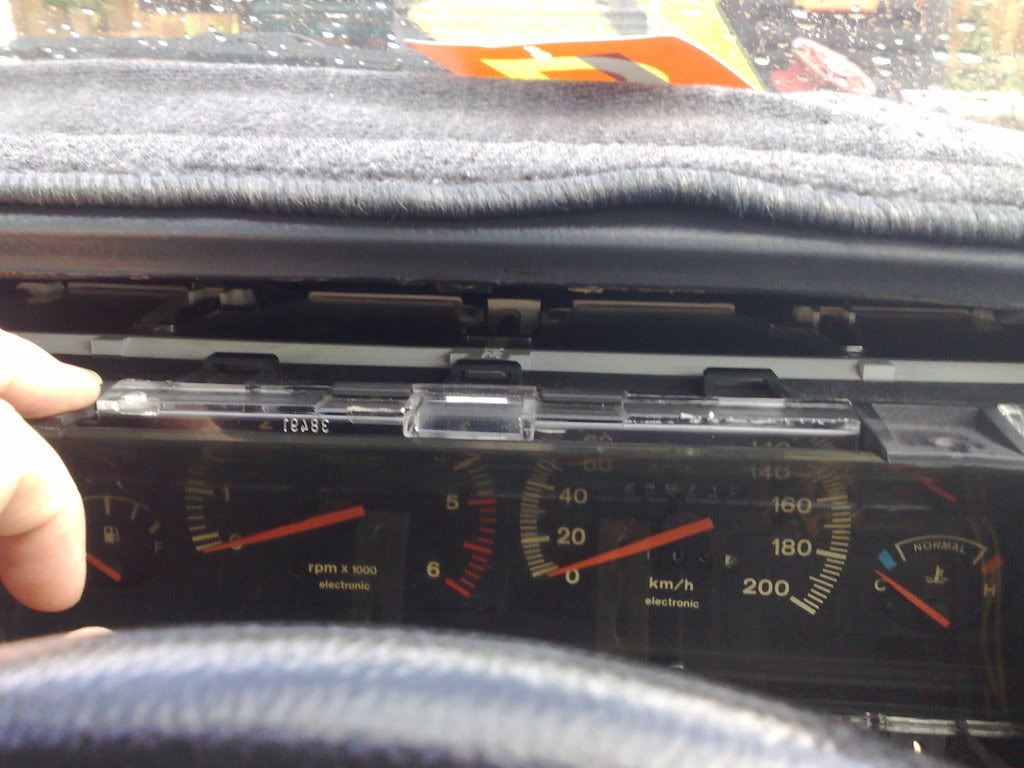
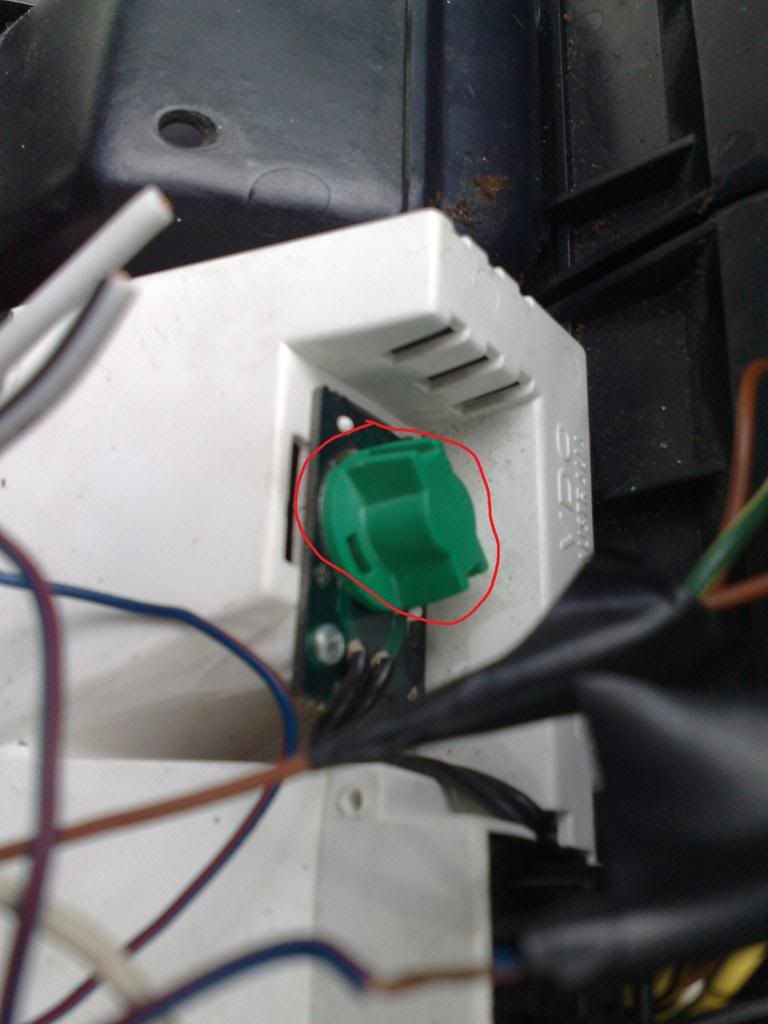
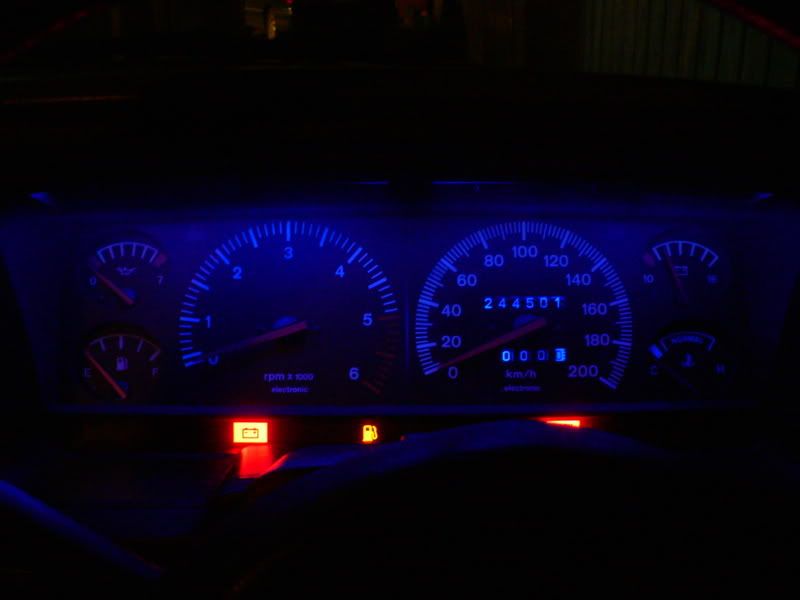
9. Now the cluster should be out all ready to be worked on, the globes marked with red are the ones that illuminate the cluster.
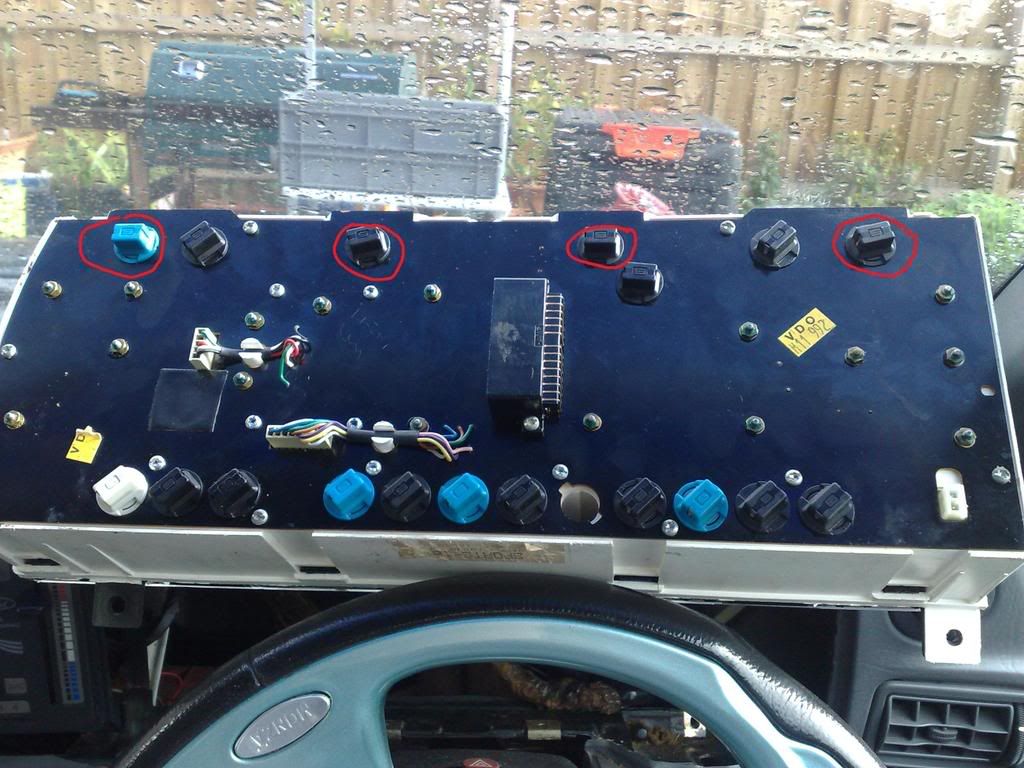
Make sure when you replace the globes that the connectors on the globe are making contact with the connectors on the holder.
------------------------------------------------------------------------------------------------------------------------------------------------------------------------
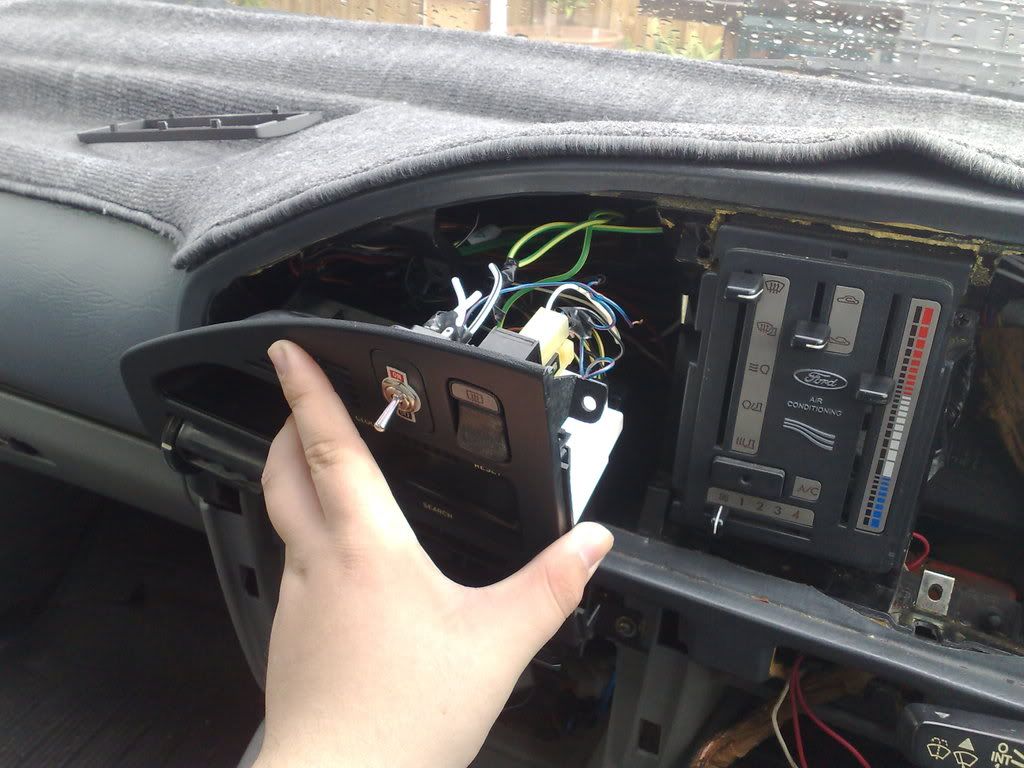
At this point that is the cluster done, if this as far as you wanted to go, just go in reverse order of the steps and put everything back together, if you want to continue to the Clock/Trip Computer, keep reading.
------------------------------------------------------------------------------------------------------------------------------------------------------------------------
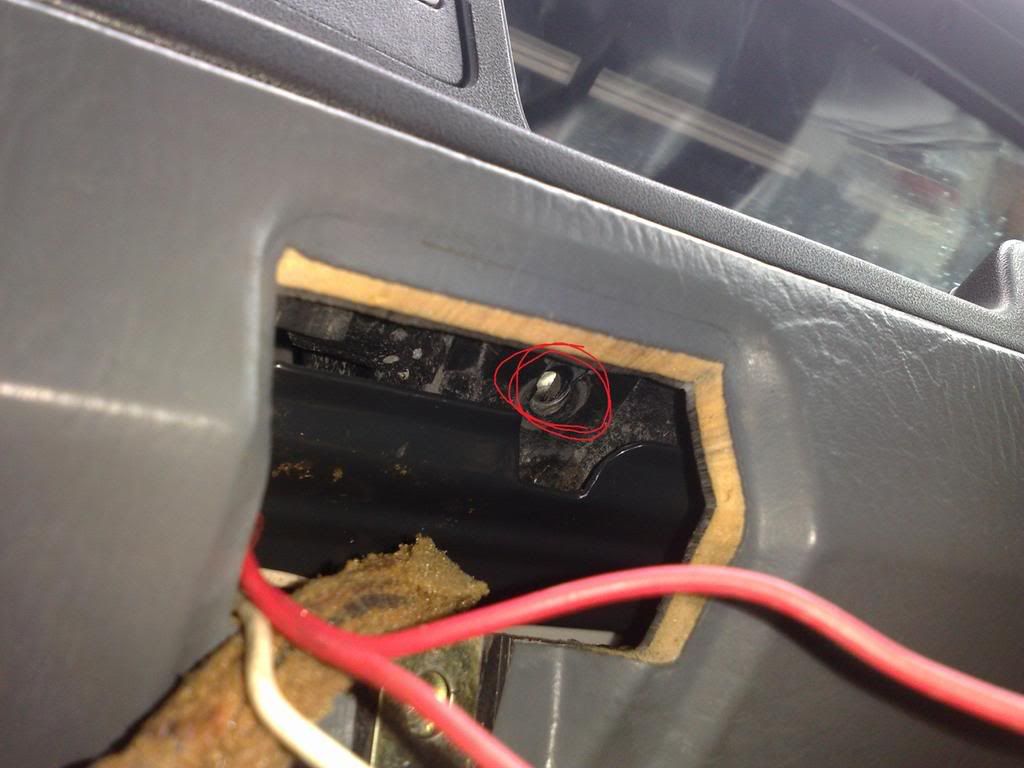
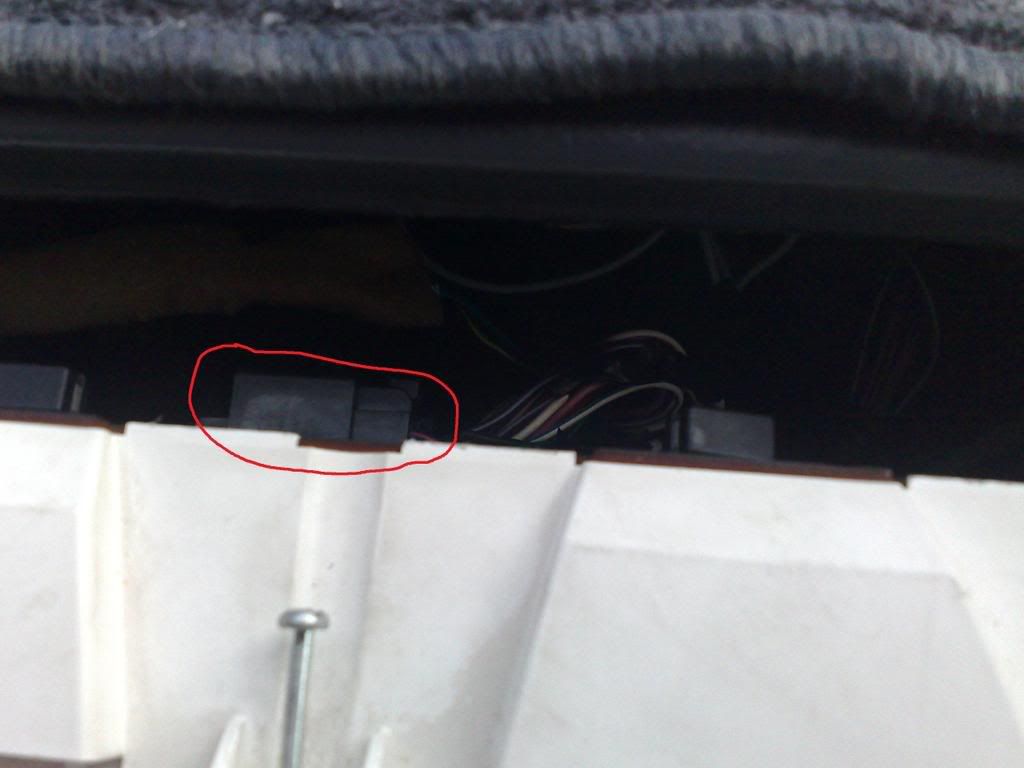
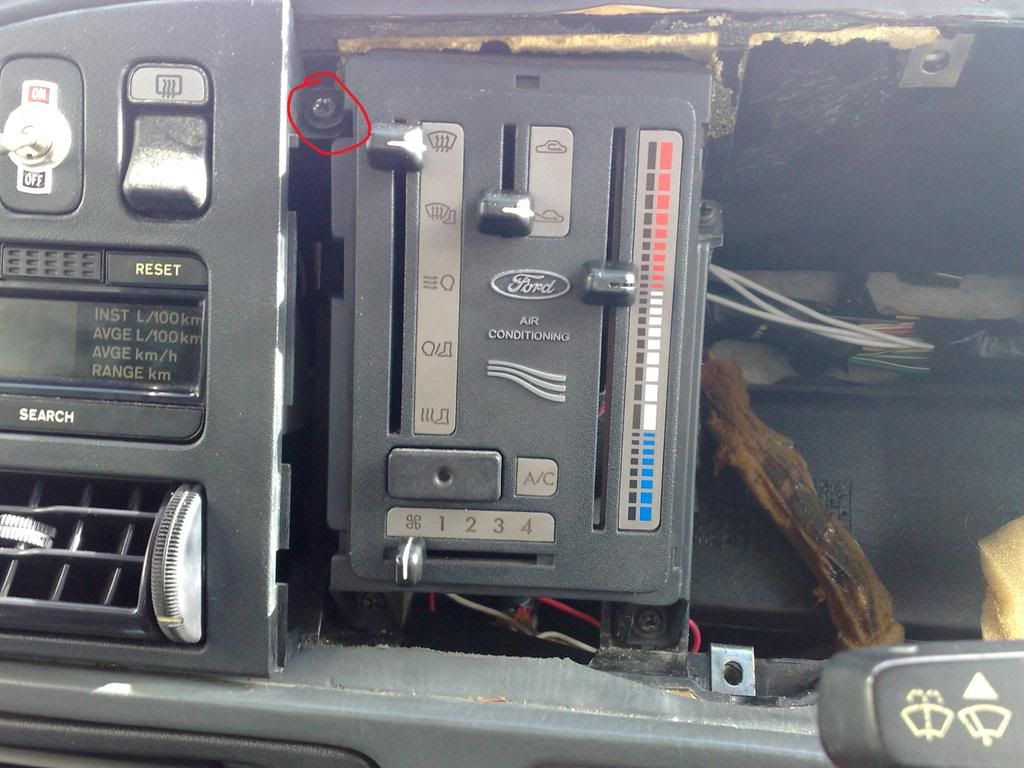
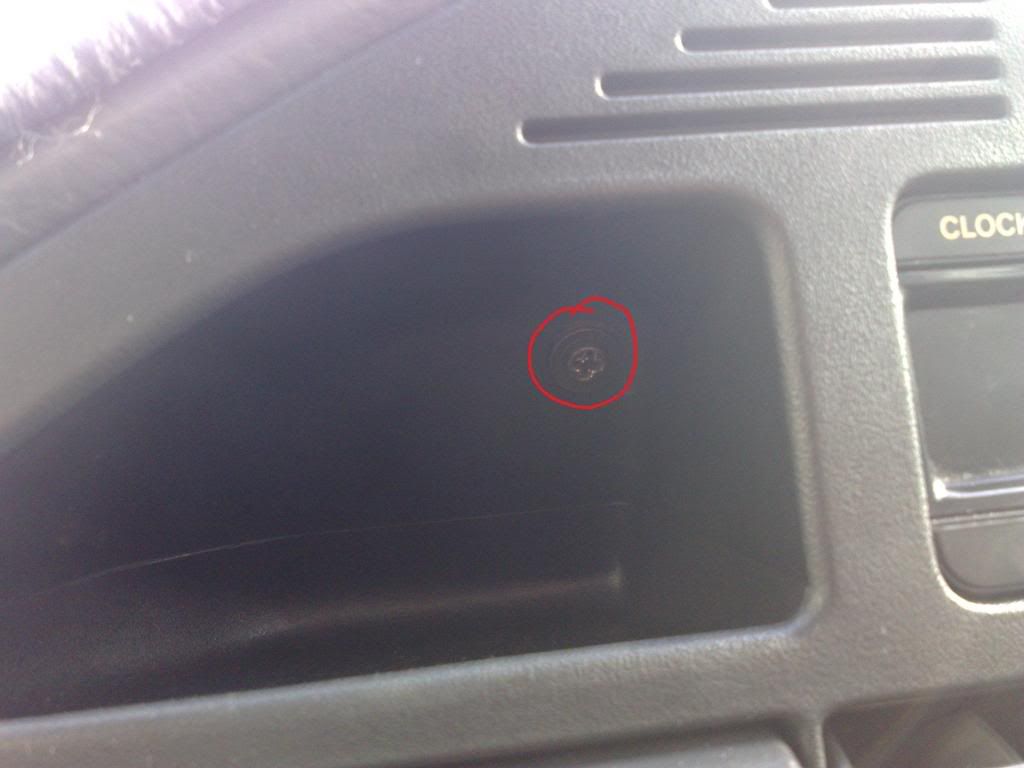
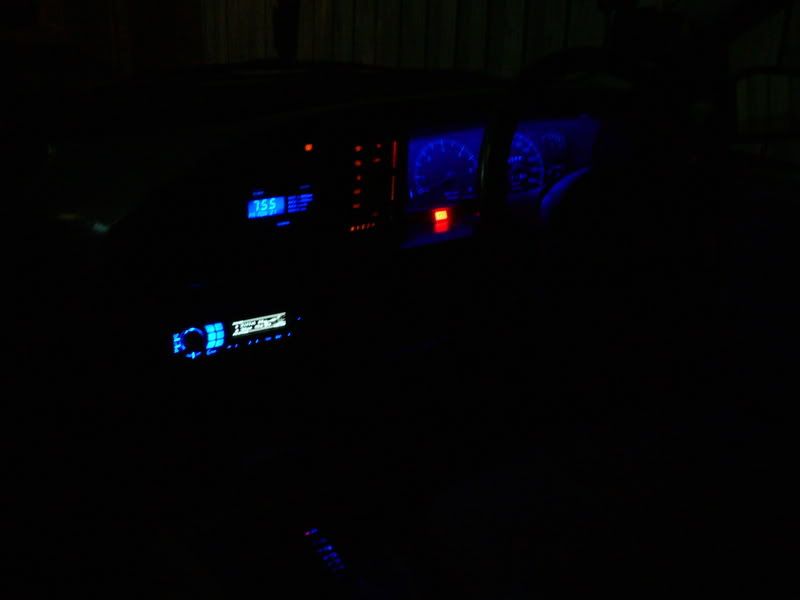
1. Now to get to the Clock/Trip Computer will require more things to be unscrewed, this is where the Torx fittings will come into play. Firstly, remove the top-left screw on the Fan Control unit/Climate Control as it holds in the Clock/Trip computer Surround.
2. Next screw is in the hole on the surround.
Depending on some cars, the surround should just lift out, if this is the case proceed to Step 6, if not proceed with the existing steps.
3. Now there are 2 screws that do hold in the Clock/trip computer surround but some people remove them, if they are there then the Head unit surround will need to be removed, to remove take out the 2 screws holding it in, then the surround can be easily lifted out.
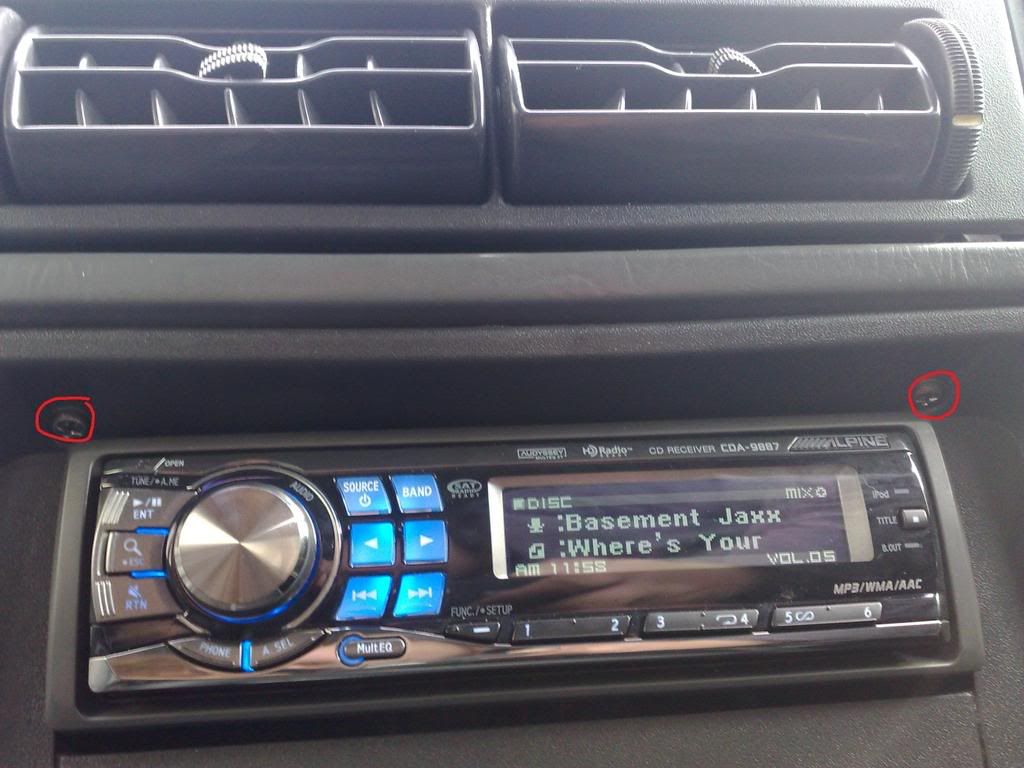
4. This is where the head unit will need to be removed, remove the 2 screws holding it in (Take out any CD’s as it could damage your head unit when removing) and the head unit should just slide out).
5. After the head unit has been taken out, there will be 2 screws holding in the Clock/Trip Computer surround that will need to be removed, they are awkward to remove. (Mine have already been removed.
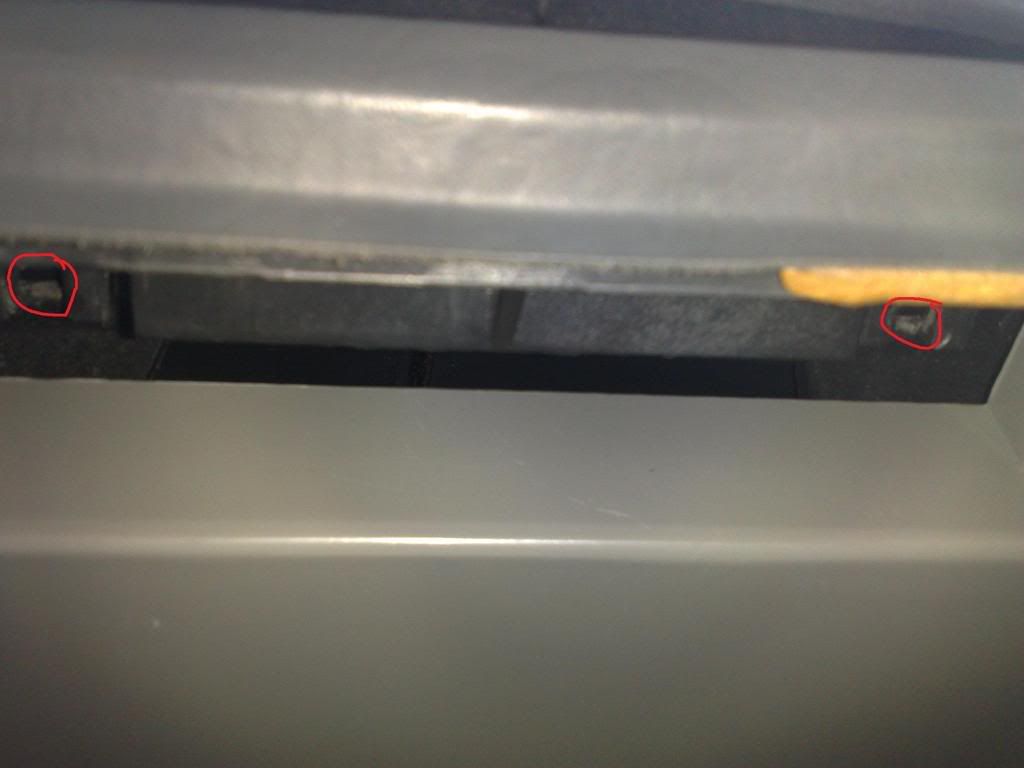
6. After these screws have been removed, the Clock/Trip Computer surround should easily lift out, then the back of the Clock/Trip Computer will be visible, look for the Globe and swap it
(Make sure the globe connectors are in contact with the globe holder)
7. All is completed; follow the steps in reverse order to put everything back together.
------------------------------------------------------------------------------------------------------------------------------------------------------------------------
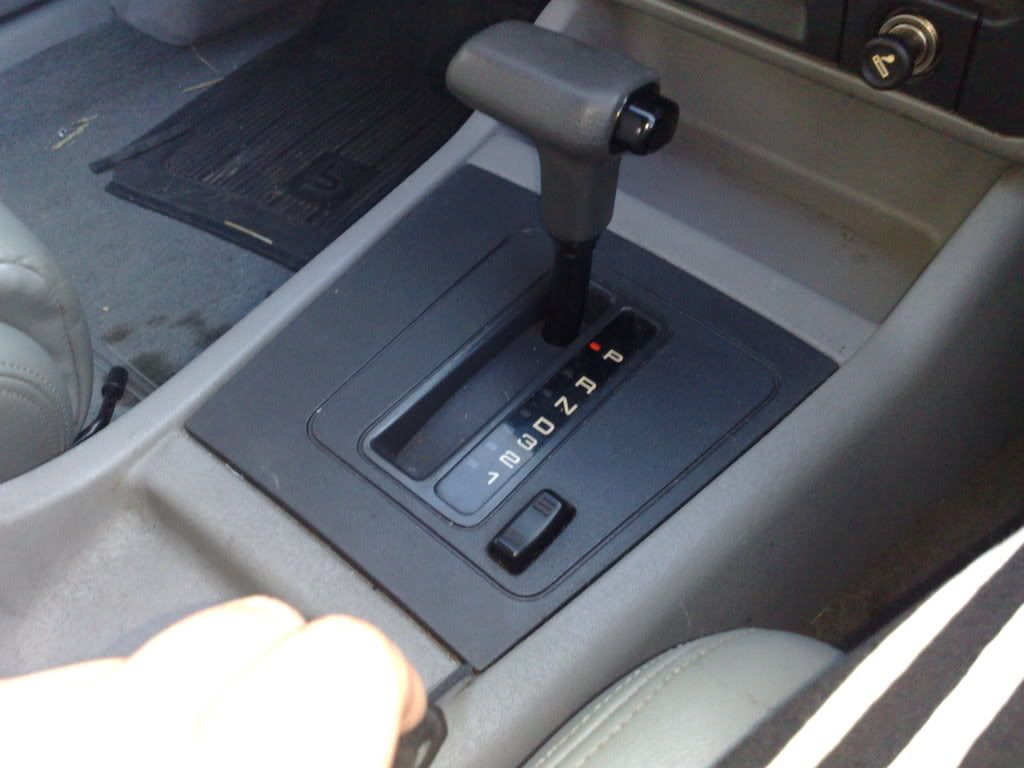
At this point you can follow the steps in reverse order and put everything back together, the transmission globe is very easy to change
Now is the part to change the globe that illuminates the transmission Letters and Numbers, if you have manual, disregard this part of the tutorial.
------------------------------------------------------------------------------------------------------------------------------------------------------------------------
1. Get a flathead screwdriver to pop the surround off.
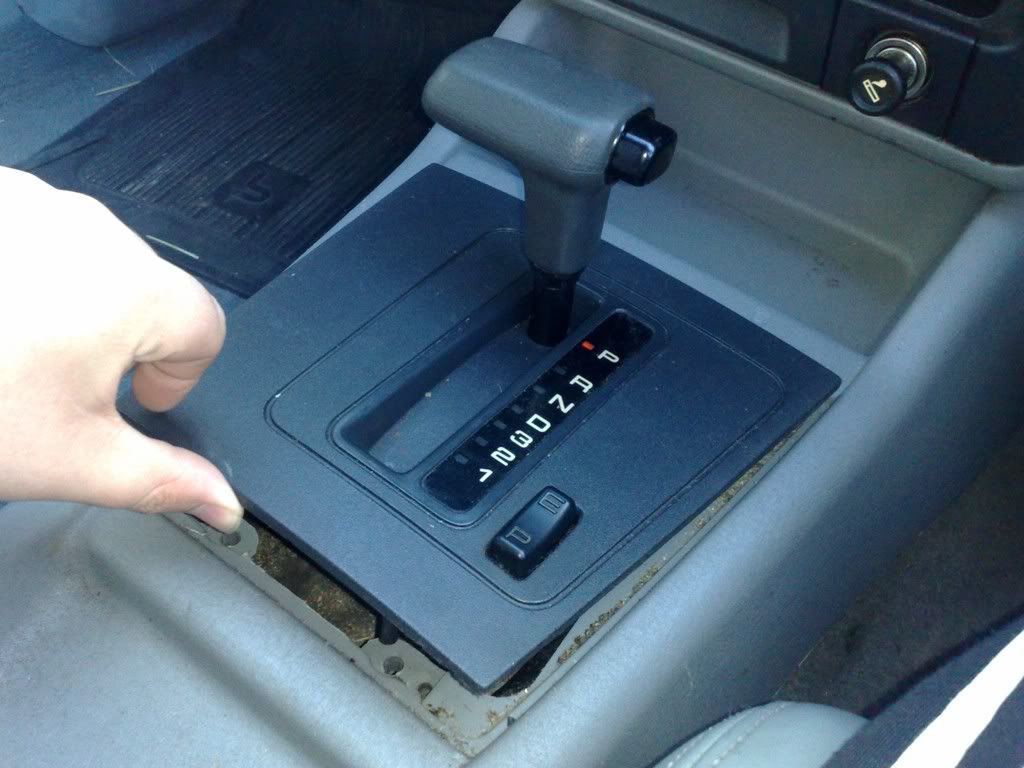
2. The surround should look like this if it is popped off.
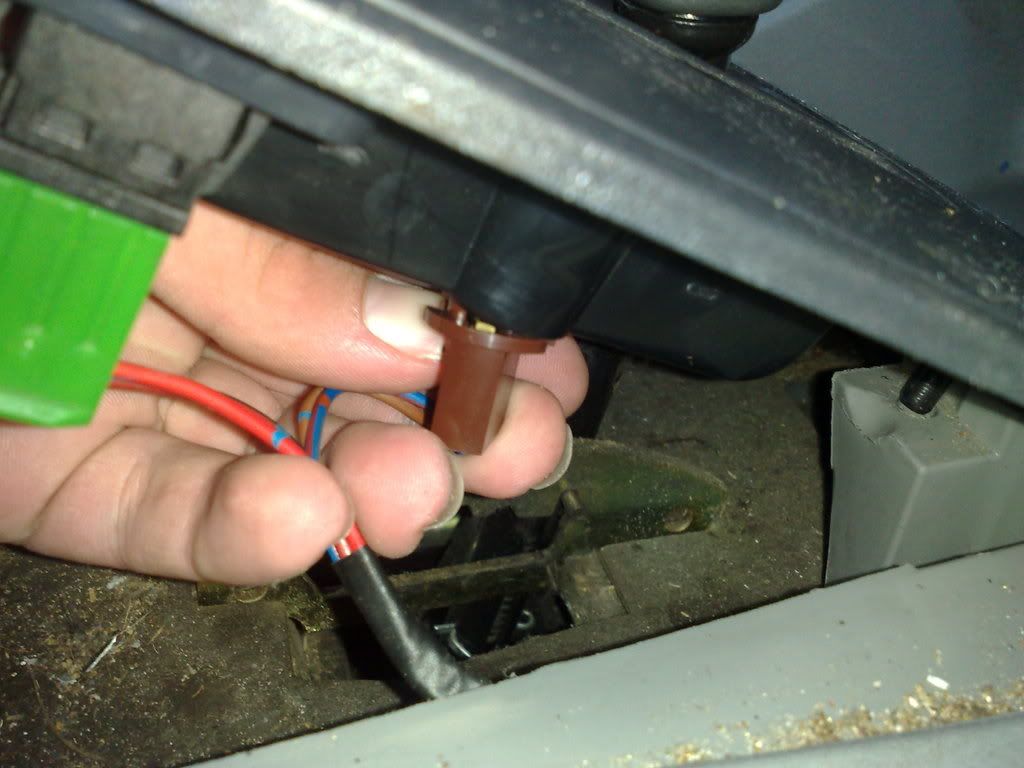
3. Then turn the globe holder out of the transmission surround and replace the globe, when done, go in reverse order to put everything back together.
And that concludes the tutorial on changing globes, if it all works then congratulations, if it doesn’t, make sure the globes are not broken and they are plugged in properly.
If there are any errors found in this tutorial or are having difficulty feel free to PM me.
Enjoy
Kyle the ED4LTR.


 .
.