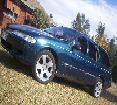
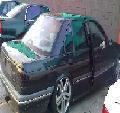
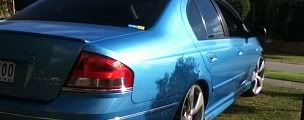
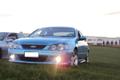
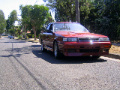
1996 Ford Fairlane Mock FBT
Alpine Type S Subwoofers 2x 300Watt RMS 15"
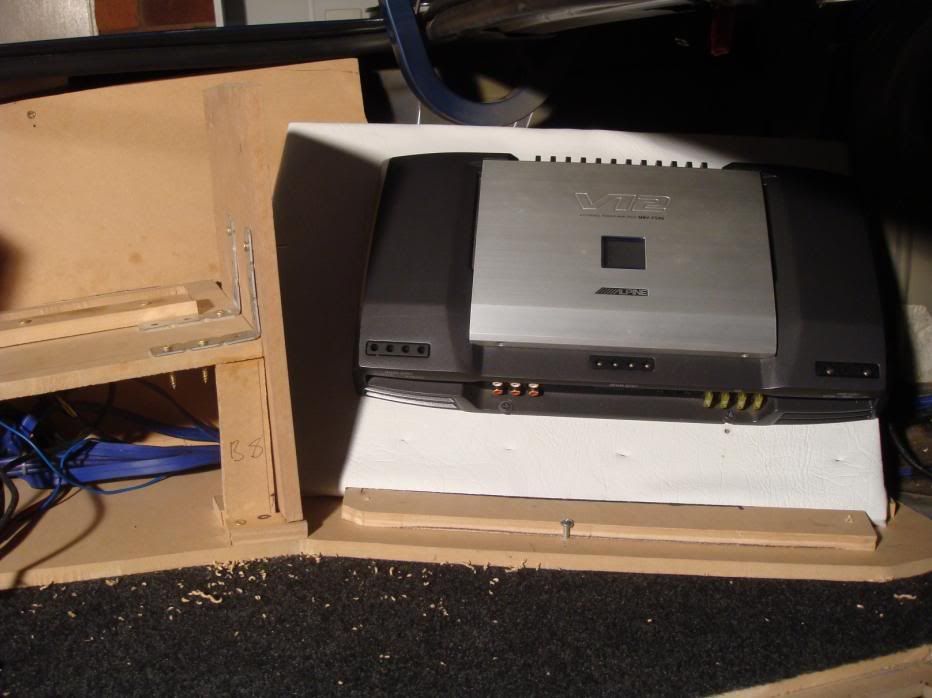
Alpine Amp V12 Monoblock
Alpine AmpV 12 4 Channel
Pioneer Tv Tuner
Pioneer Audio/Video Processor
Pioneer Cd Stacker
Pioneer DVD Stacker
Pioneer 7" Flip out Dvd Screen
Pioneer 6" + Splits at the front (250Watt)
Pioneer 6" + Splits at the Rear (250Watt)
Materials Used:
-12mm MDF for amp side walls and false floor
-16mm MDF for sub box
-25mm, 32mm, 38mm Particle Board Coutnersunk Screws
-2.5M of Velcro
-Selly's Adhesive glue
-PVC Glue
-White Vinyl
-Charcol Grey Carpet
(^all from Bunnings)
-2 Black Iight Neon 12" (Repco)
-2 Computer Fans (Internet)
-Wires and Switches for lights (Repco)
Still have to buy
12mm for the Amp cutouts and rear of sub box Toughened Glass (Ready Glass)
Jigsaw
Powersaw
Screw Driver
Drill
Scissors
Are all your best friend!
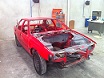
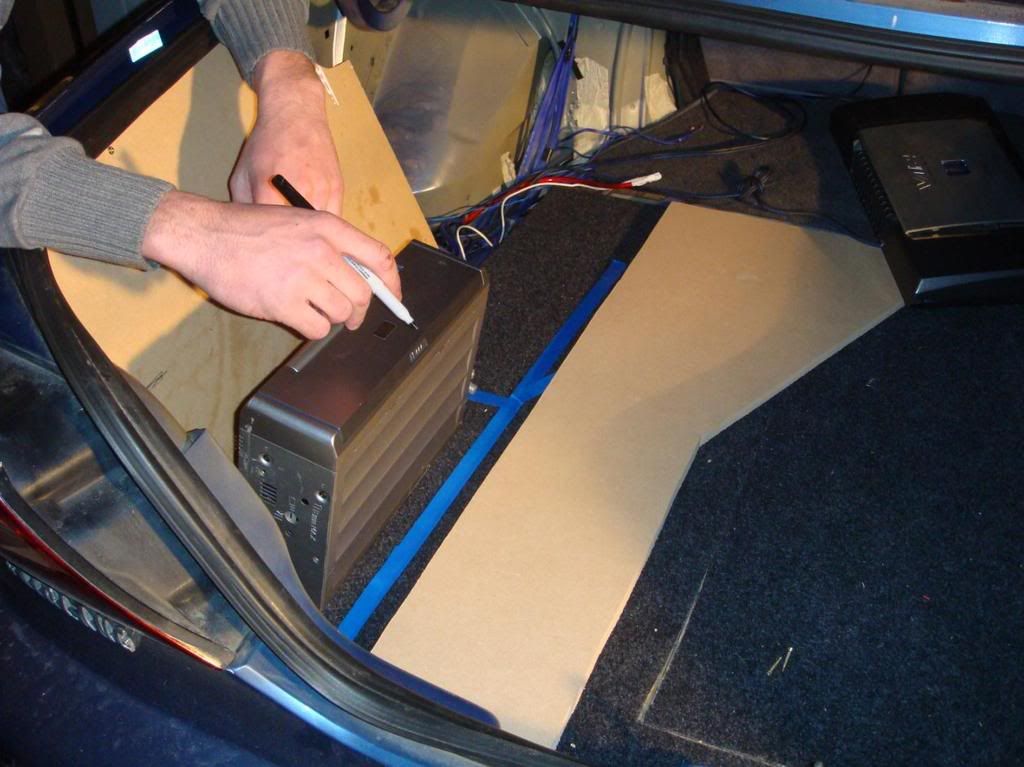
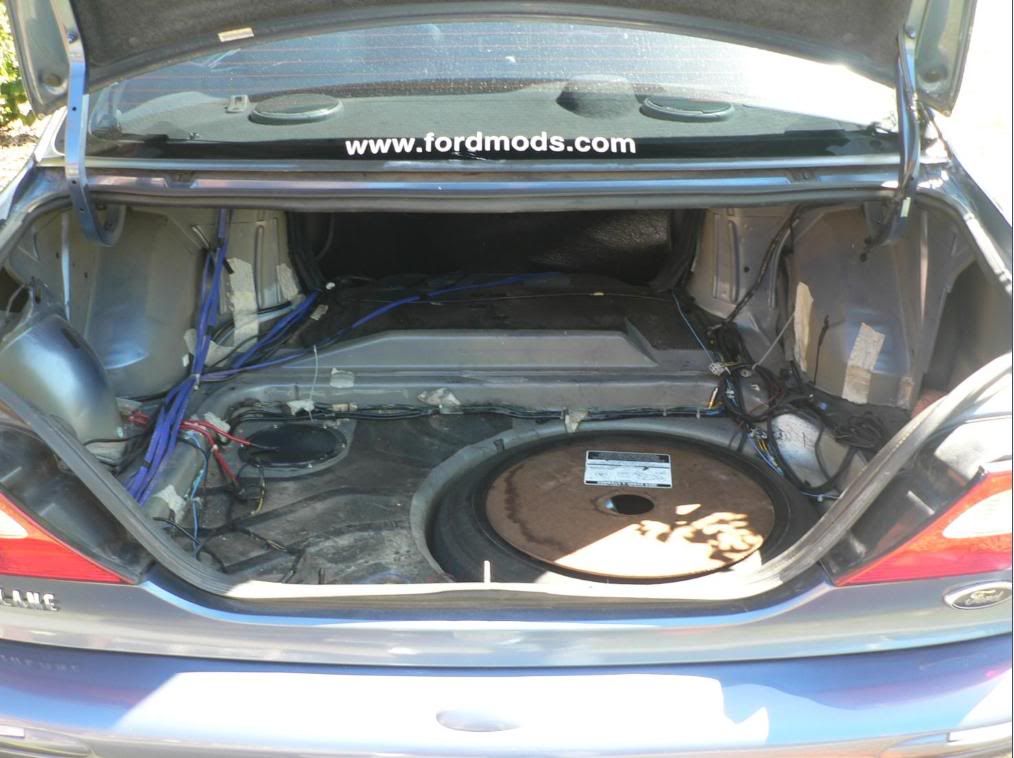
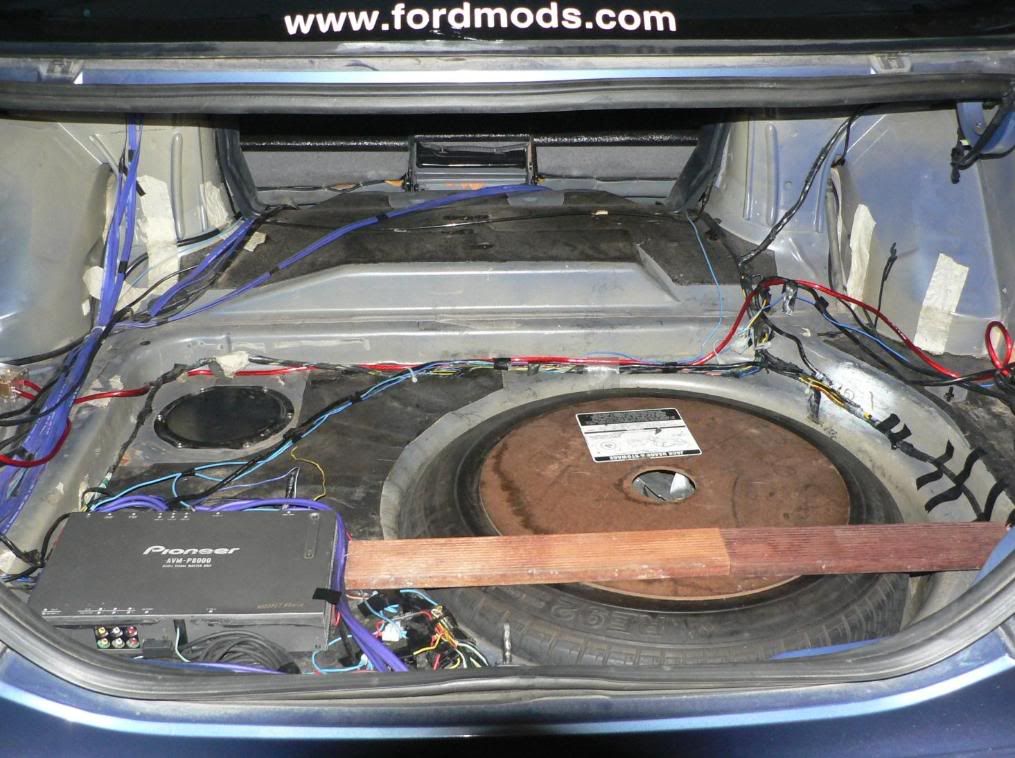
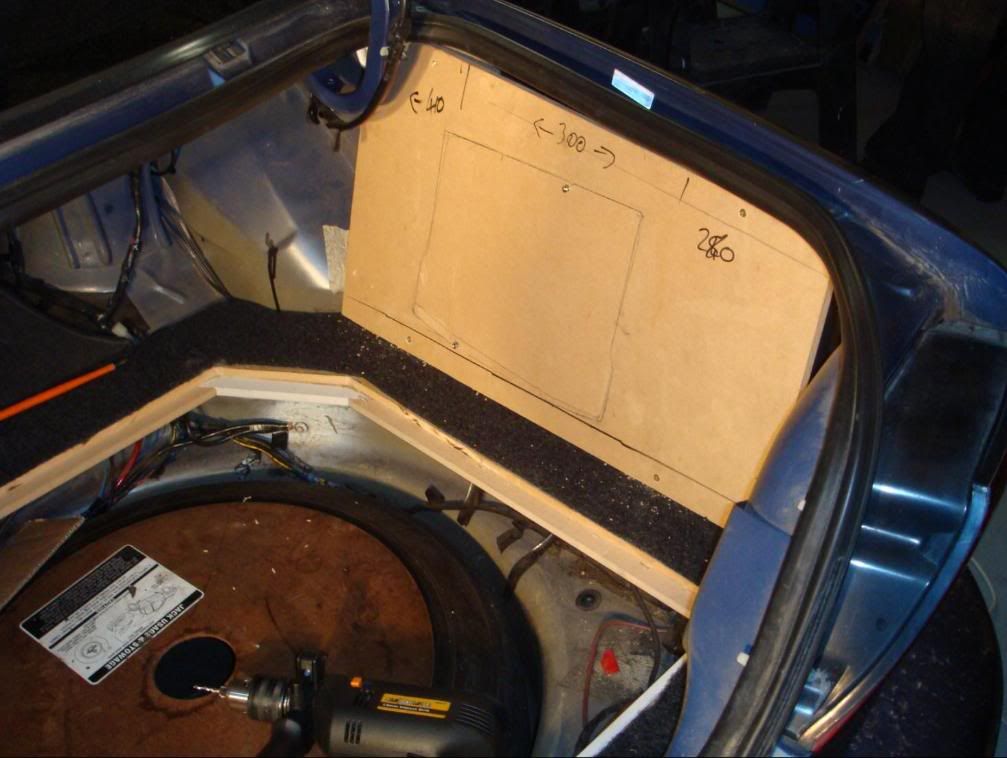
Step 1. As my sound system was previously sitting in the boot nailed to some wood with wires hanging all over the place, I started to plan out drawings on where the equipment should be mounted, after that taking out the equipment and rewiring wires to specific areas of the boot.
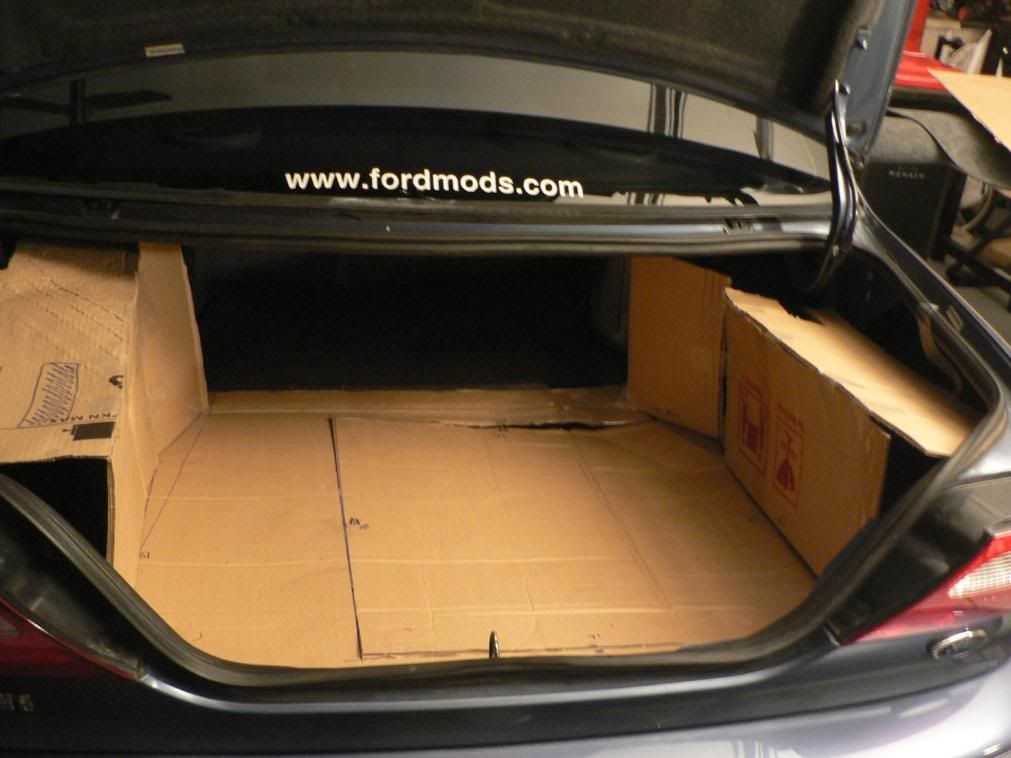
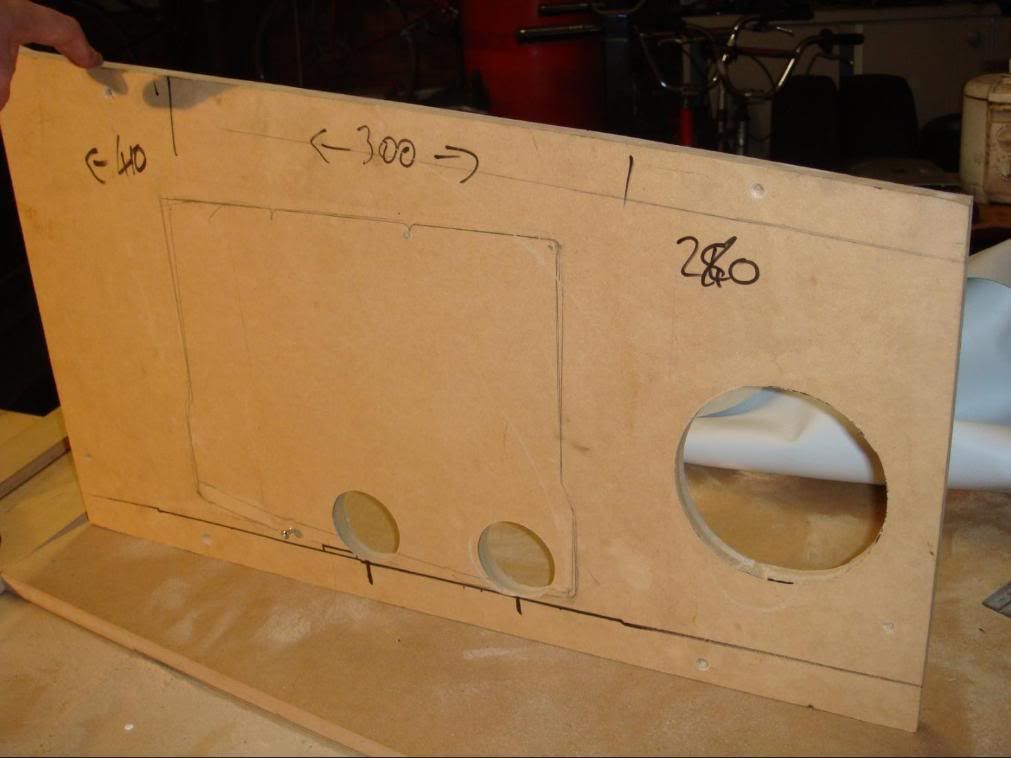
Step2. Cutting out cardboard templates is a MUST when it comes to measurements and accuracy as a guide, this is basically what I want it to look like.
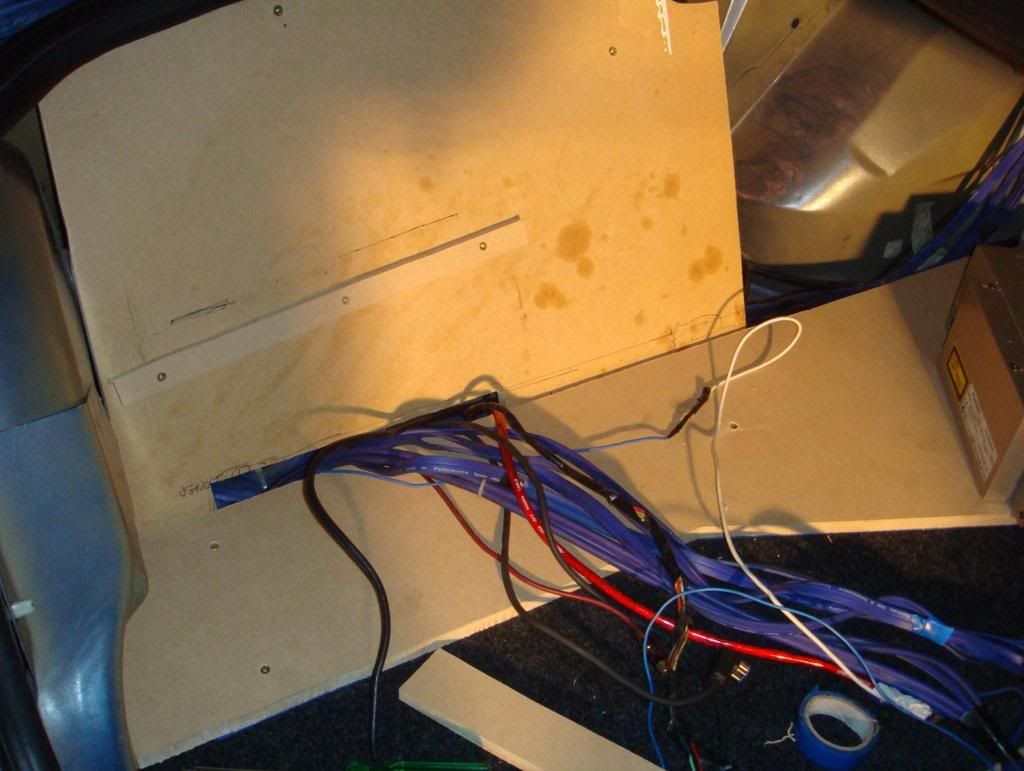
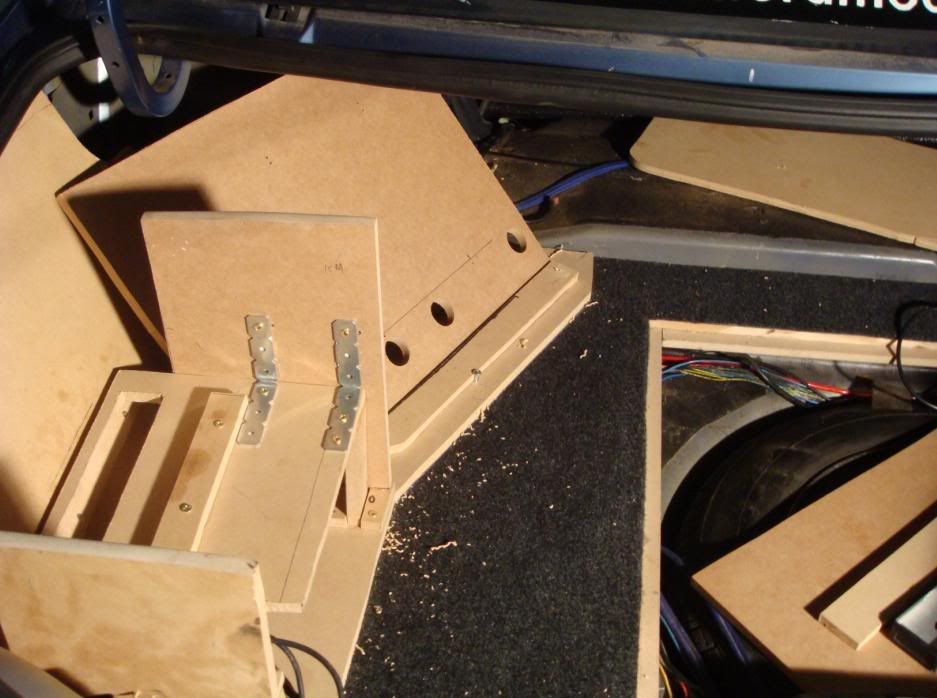
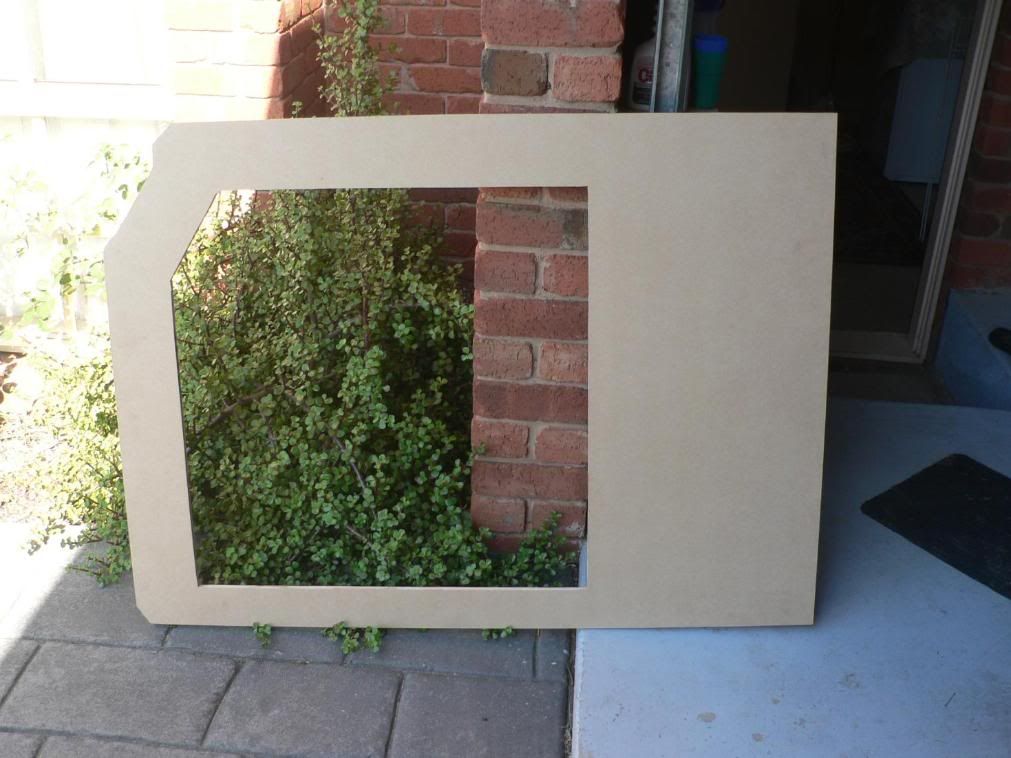
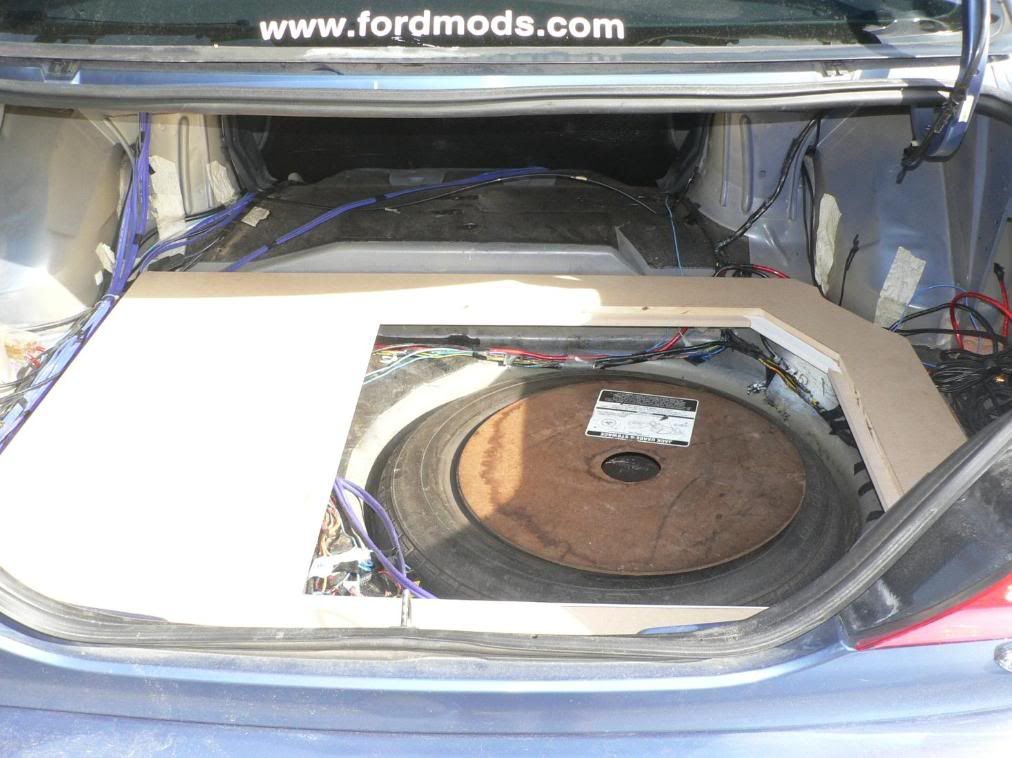
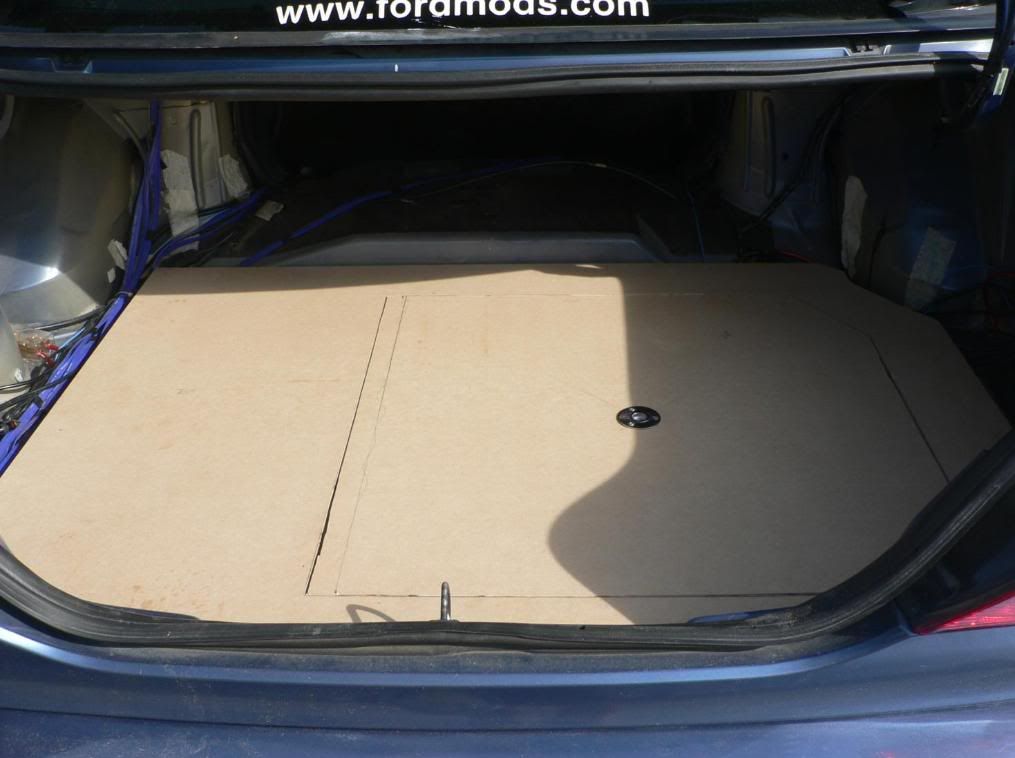
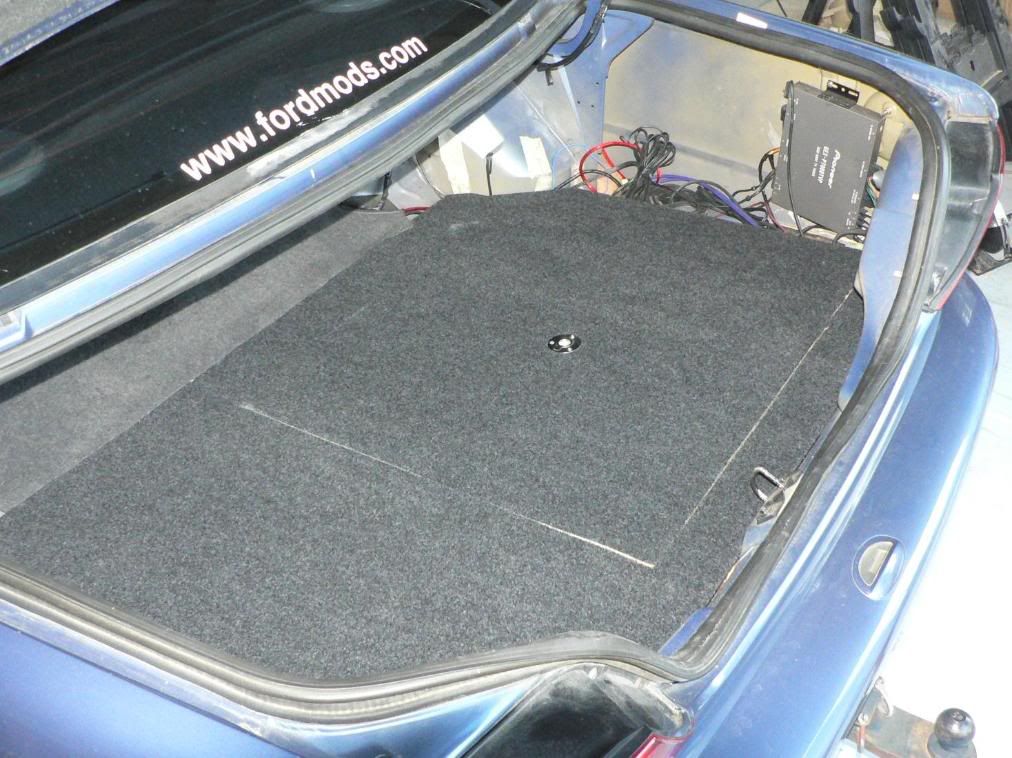
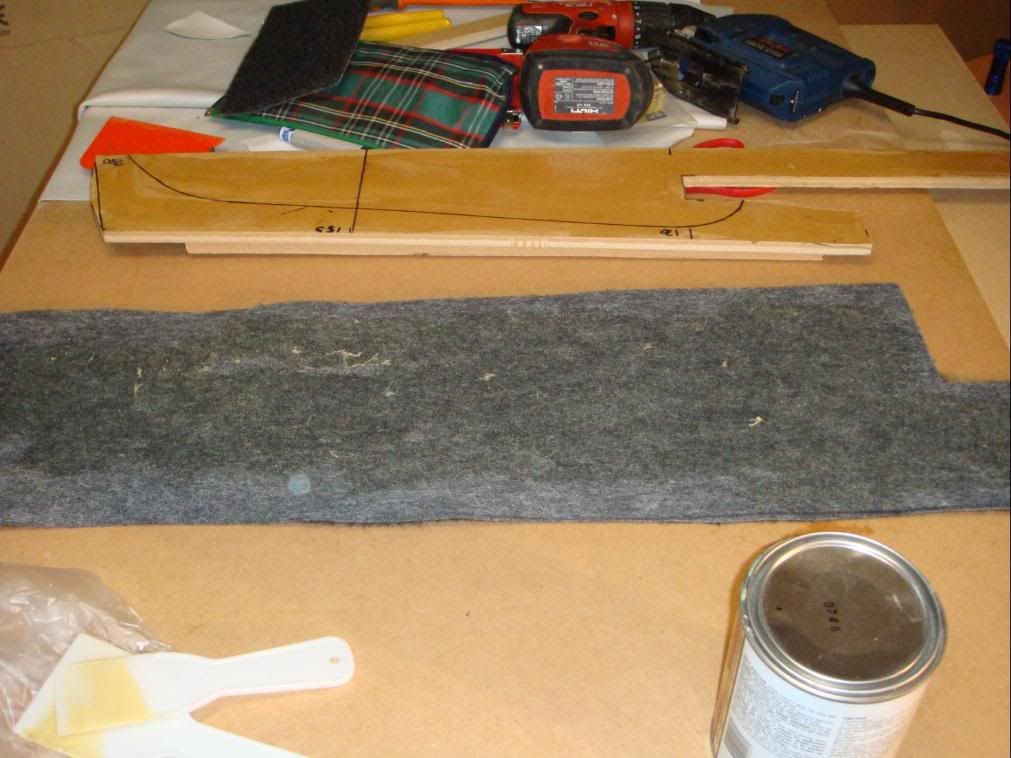
Step3. Starting off with the foundation I measured up the false floor, cutting it to size and shape. Also having a trap door to access the Tyre. Then cutting out the carpet to fit the false floor (using Adhesive and Staple Gun to do so).


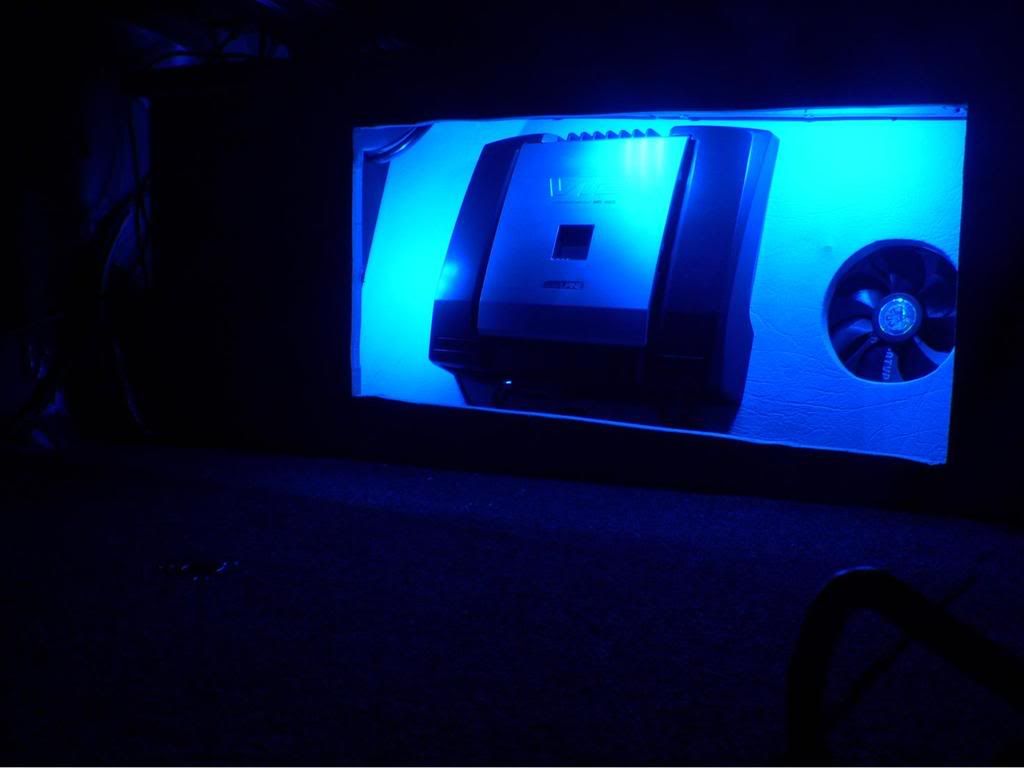
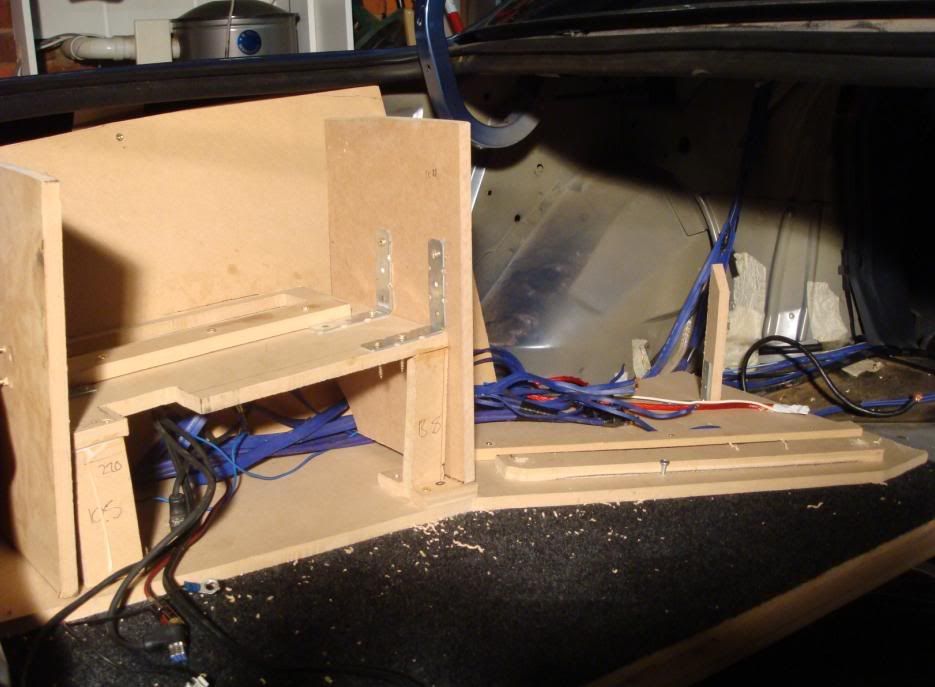
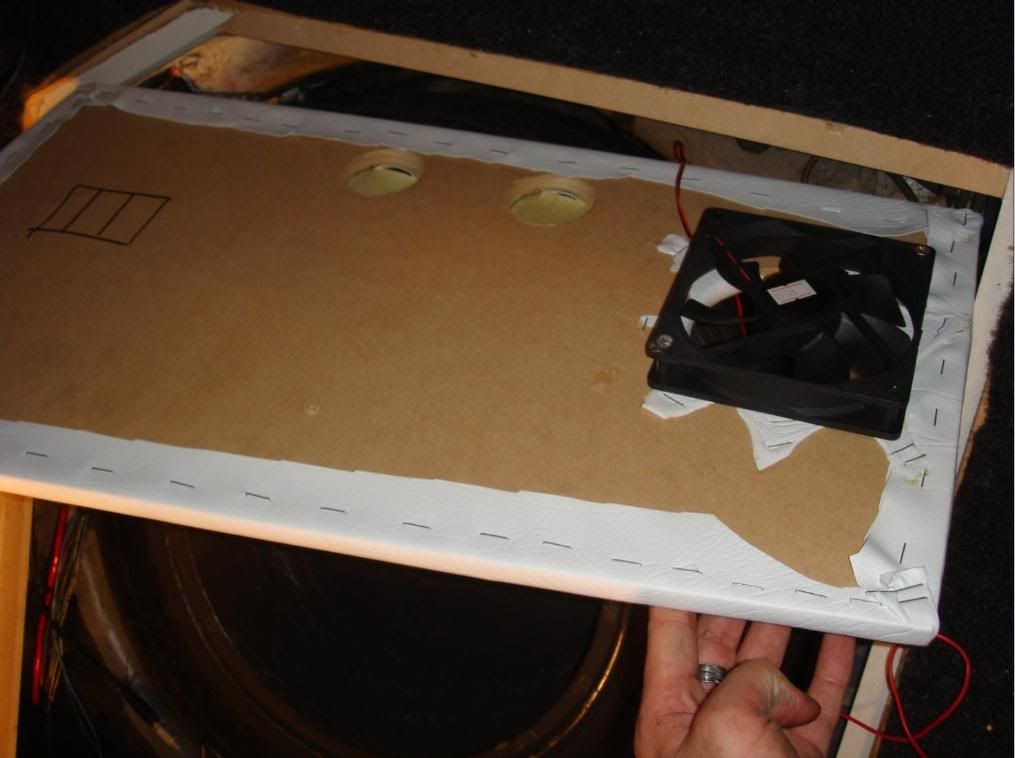
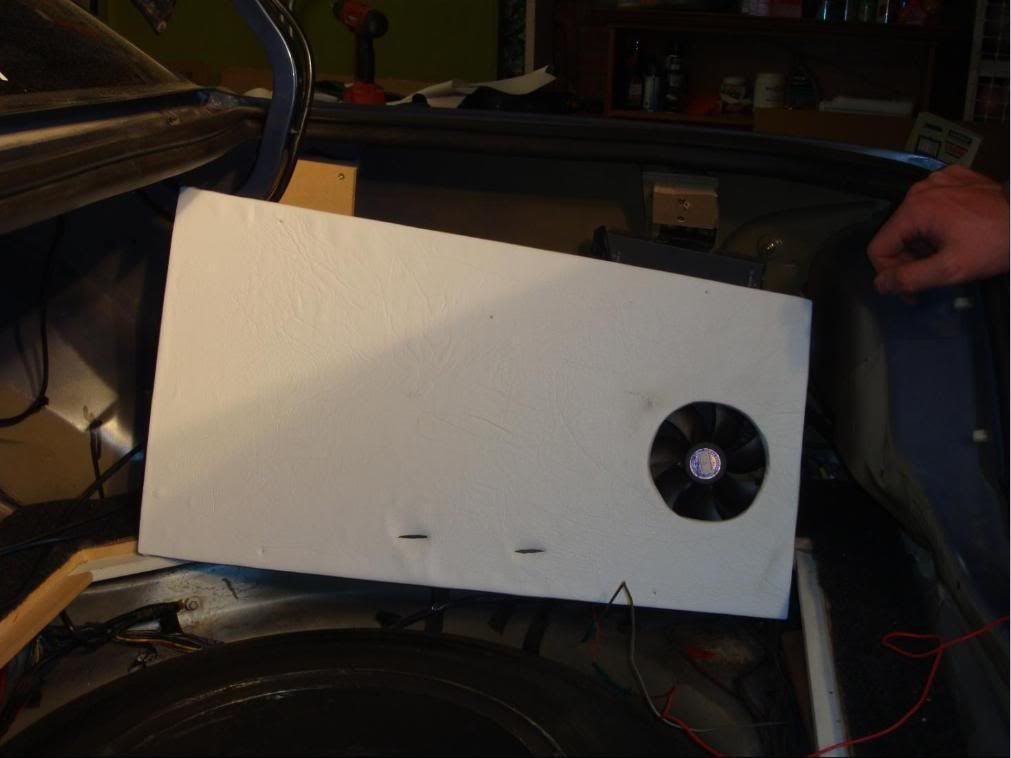
Step4. AFter the completion of the false floor, it was time to start on the Amp pits (mounts), first on the RHS for the Mono block. I've decided to go along with having them up on the sides of the boot, then enclosed into a box (with a glass window). Also there are a fan in each amp board to cool the amp (as its enclosed), as well as BLUE and Black light LEDS and Neons (respectivly).
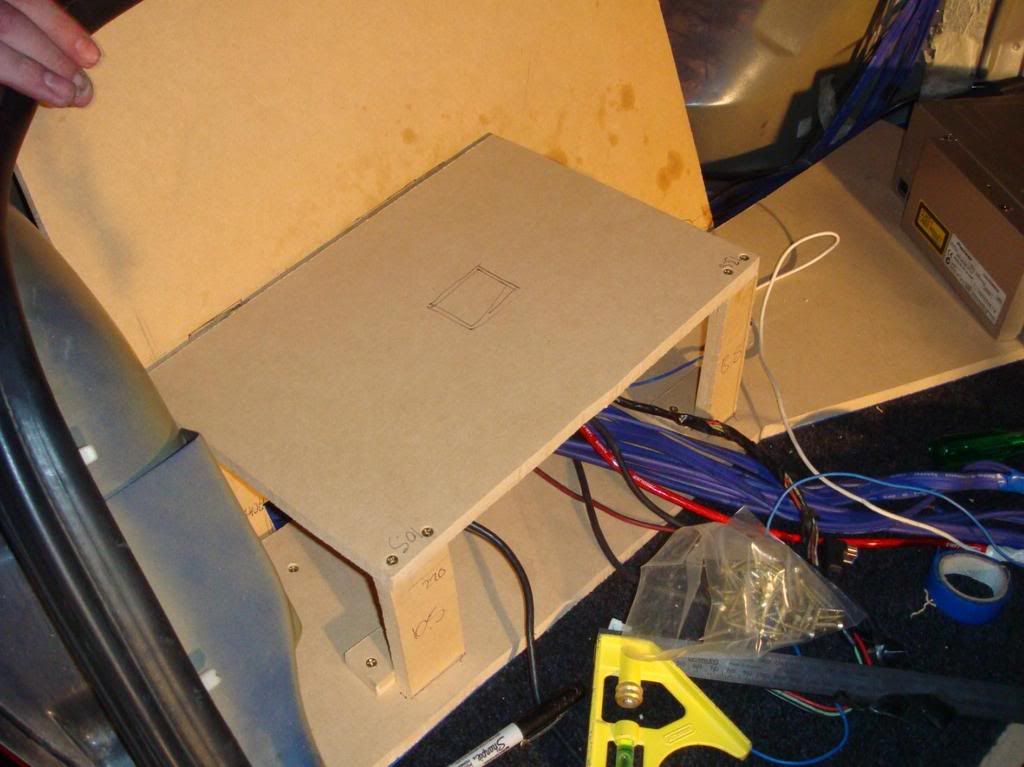
There are 6 Pieces of separate wood in total for this process, starting off with;
-The mount for the amp to be bolted on,
-The top Lid to cover the amp (and hinge when boot is closed)
-The Side wall (with the glass cover as a window)
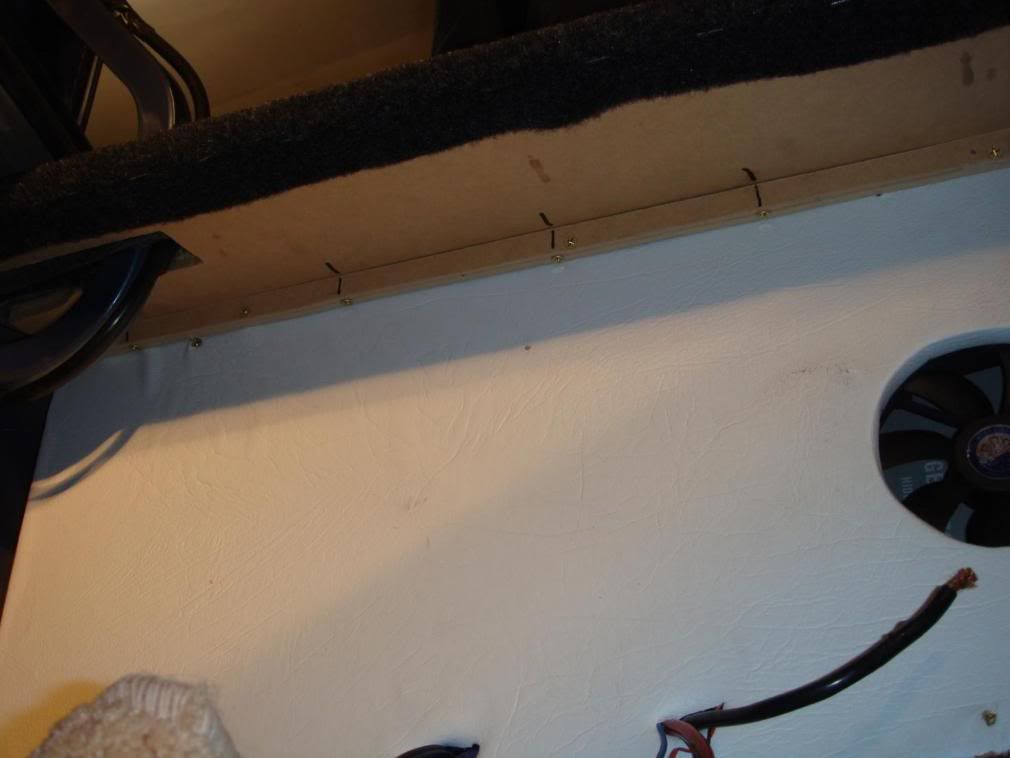
-Two pieces of 12mm MDF strips to be bolted down to the false floor and underneath the Amp LID with velcro stuck to them (to hold the amp cover rather than bolting it in for each access)
- 1 piece of wood screwed to the underneath of the amp lid and amp mount to stablise the top of the boot lid to the car.
- Additional pieces of wood were used as a filler to bolt the amp mount to the side of the car (using the second skin metal of the car)
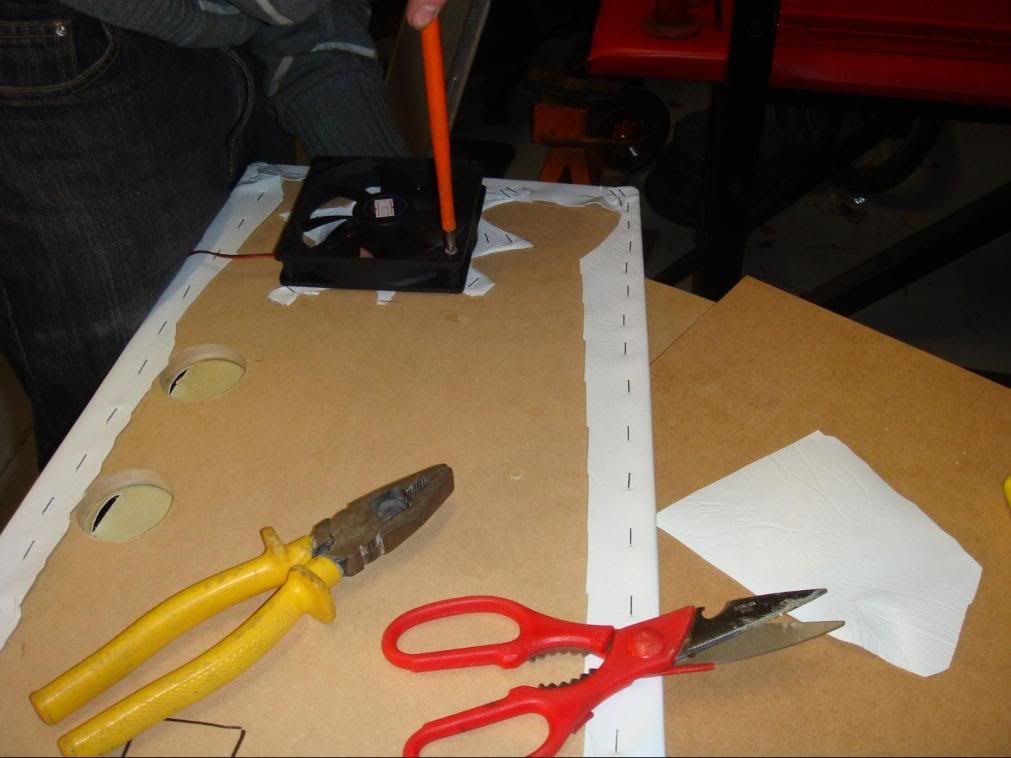
Step5. Once all the wood for the amp pits was cut out, I then routed a 3 holes into the amp mount area where 1 fan would be screwed in, along with holes for access of wires. Then all was pieces of wood was carpeted + vinyl.
Step6. I found the black lights are NOT bright enough, only emit a small amount of light, so i have used them as well as a conjunction of BLUE LEDS to give a better effect, these where mounted on the sides and underneath the amp pit.
This is all...for now.