my first do it ya self post
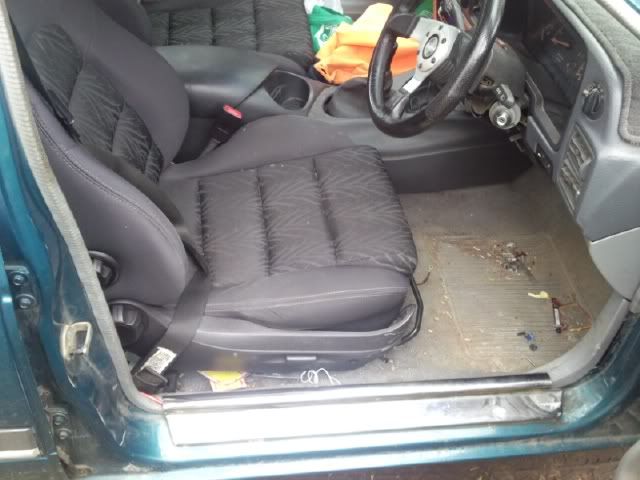
mounting el seats into a el 6 Seater.. has the same floor pan as a EB 5 seater. but same process i went though with my eb
.
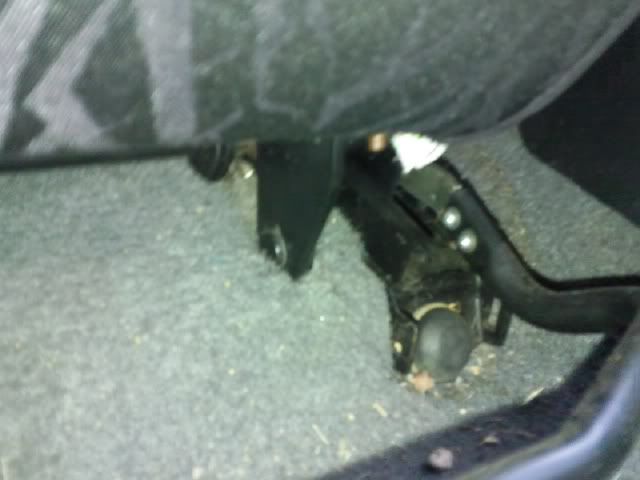
first get a ea seat rail the one with the seat belt buckler. so if its L/H get the R/H seat rail. R/H get The L/H seat rail.
requires a 10mm socket. hax saw. 4in grinder with cutting/grinding disc.

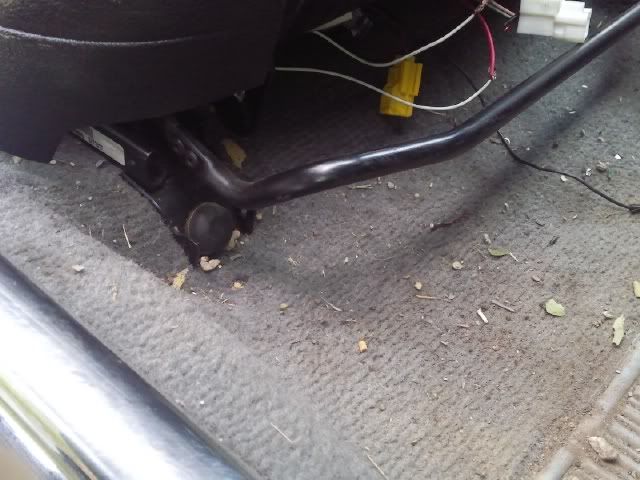
once remove the leg fit it to the car


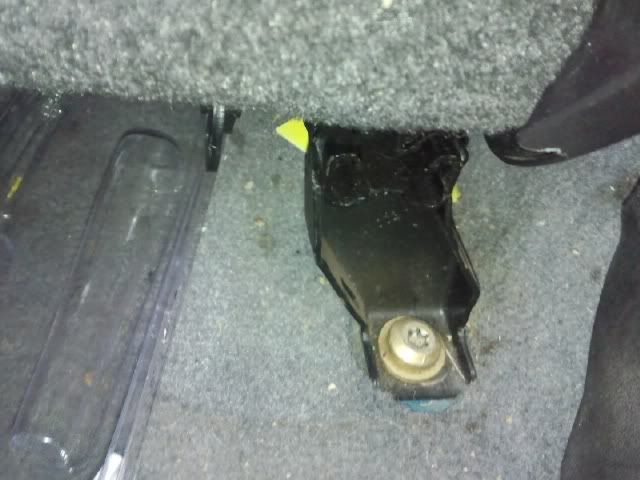
also remove these 2 tabs off the el seat.


fit the seat in. bolt in all the bolts so it sits where it should.

mark it up


clamp it together.

weld the shit out of it.. but dont weld the clamp LAWLLL
if you can use a mig.. ark welds better for a heavy job. but you cant lay in enough heat to get a perfect ark weld. so a mig gas or gas less is better and easyer.


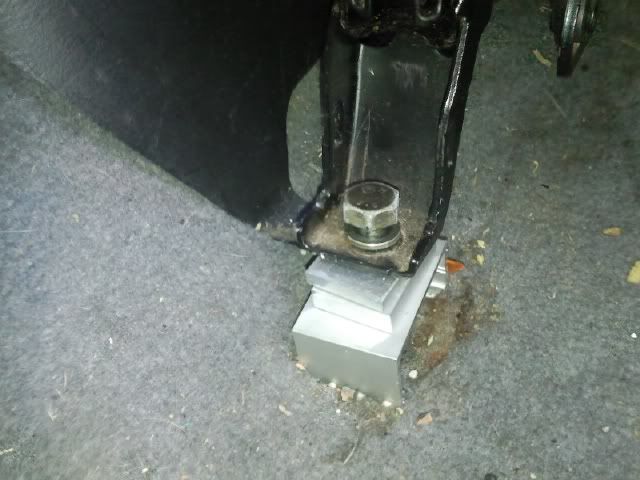
remove the excess over hang so it looks more standard. not modifyed.


clean the welds. i didnt as you cant see em. but if your fussy go nuts. then spray it.

you'll find when you fit em.. it'll lean.. L/H leans to the left and R/H side leans to the right.. easy fix.. go to a wrecker and ask for the bottom seat belt spacer.
take it home and change it to this. or replace both legs. depending on how fussy. on my EB XR8 i replaced both legs it sit about the same angle. but i wanted the original covers back on so was needed to replace both. or just drill a hole and yer.. but i wanted to replace em both

changes the angle from this

to this still not perfect but much better. look at the sun visor for the angle differents

also you'll need the longer bolts as shown

took me 3 hrs to do with chasing around my 3 kids at the time. then telling em to wonder off while i welded then to wonder back when i finished
roughly about 1hr per seat. with removing the bracket dummy fitting it marking it welding it bolting the seat back in.
if something needs more explaining or better picture gimme a yelp and i'll fix it up